Assembly Techniques: Building Your Own RC Plane
Imagine the thrill of taking to the skies, controlling a miniature aircraft that you built with your own two hands. The satisfaction and sense of accomplishment derived from such an endeavor is unparalleled. In this article, we will explore the fascinating world of building remote-controlled (RC) planes, focusing specifically on assembly techniques. By understanding the step-by-step process involved in constructing these mechanical marvels, enthusiasts can not only personalize their RC planes but also gain invaluable knowledge about aerodynamics and engineering principles.
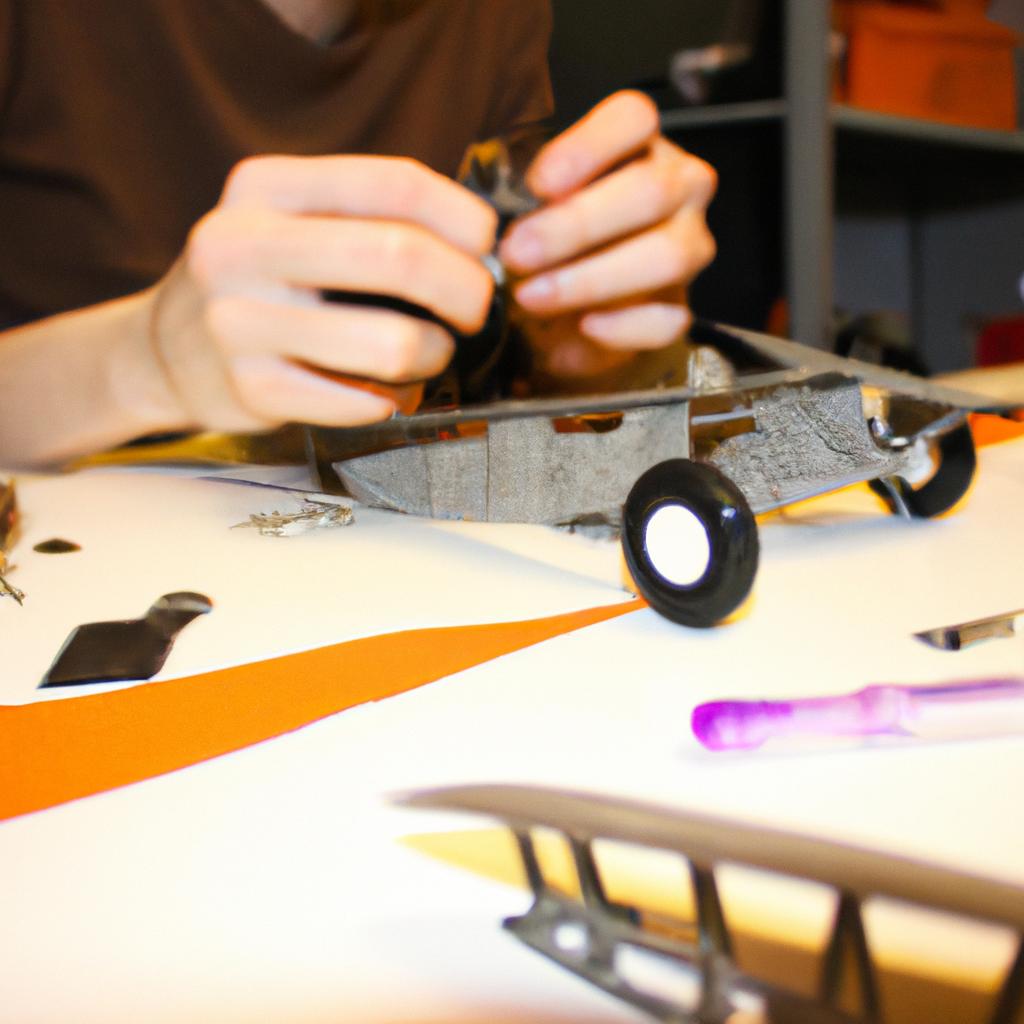
To illustrate the significance of assembly techniques in building an RC plane, let us consider a hypothetical scenario. Imagine John, an avid aviation enthusiast who has always dreamt of flying his own customized model aircraft. He decides to embark on the journey of assembling an RC plane from scratch. Armed with a kit containing various components such as wings, fuselage, motors, and control systems, John realizes that proper assembly techniques are paramount for achieving optimal performance and stability in flight. As he meticulously follows each instruction manual, John learns about critical factors like weight distribution, balance adjustment, and wing alignment – all crucial elements in ensuring safe and controlled flights. Through this example, it becomes evident how mastering assembly techniques plays a vital role in transforming a collection of parts into a fully functional RC plane.
So, what are some key assembly techniques to keep in mind when building your own RC plane? Let’s explore them:
-
Read the Instruction Manual: Before diving into the assembly process, carefully read and understand the instruction manual provided with your kit. This will give you a clear understanding of the various components and their proper installation methods.
-
Organize Your Workspace: Set up a clean and organized workspace where you can spread out all the components and tools required for assembly. This will help prevent any confusion or misplacement of parts during the process.
-
Prepare the Components: Before assembling, inspect each component for any defects or damage. Sand down rough edges and remove any excess material that may hinder proper fitting or operation.
-
Start with Basic Structures: Begin by assembling the basic structures of your RC plane, such as attaching wings to the fuselage. Follow the instructions carefully to ensure proper alignment and secure attachment using appropriate adhesives or fasteners.
-
Balance Adjustments: Achieving proper balance is crucial for stable flight performance. Check the center of gravity (CG) specified in the instruction manual and make adjustments if necessary by shifting weights or adding ballast in strategic locations.
-
Wiring and Electronics: Install motors, servos, receivers, and other electronic components according to the wiring diagrams provided in the manual. Pay attention to correct polarity connections and secure all loose wires with zip ties or electrical tape to avoid interference during flight.
-
Control Surfaces Alignment: Align control surfaces such as ailerons, elevators, rudders, etc., ensuring they move freely without binding or excessive play. Use hinges or linkage systems recommended by the manufacturer for smooth movement.
-
Final Checks: Before maiden flight, double-check all connections, controls, and fastenings to ensure everything is secure and functioning properly. Make sure all moving parts operate smoothly with no obstructions or interference.
-
Test and Adjust: Once the assembly is complete, perform a range of tests such as range check, control surface movement test, and motor test to ensure everything is working as expected. Make any necessary adjustments before attempting your first flight.
By following these assembly techniques, you can build an RC plane that not only reflects your personal touch but also ensures safe and enjoyable flying experiences. Remember to always prioritize safety and adhere to local regulations when operating your RC plane in public spaces. Happy building and happy flying!
Choosing the Right Kit
Imagine that you have decided to embark on a new hobby – building your own RC plane. Excitement fills the air as you start envisioning yourself skillfully maneuvering your creation through the skies. But before diving into this adventure, it is crucial to choose the right kit that suits both your experience level and preferences.
When selecting an RC plane kit, there are several factors to consider. Firstly, take into account your skill level in model assembly. If you are a beginner, opting for a simple build with clear instructions will ensure a smooth learning curve. For more advanced builders seeking a challenge, kits requiring complex techniques or customization options may provide greater satisfaction.
Additionally, think about the type of flying experience you desire. Are you interested in high-speed aerobatics or leisurely gliding? Different kits cater to varying flight styles, so identifying your goals early on will help narrow down the choices. Furthermore, consider whether you prefer electric-powered planes or gas/nitro engines, each offering their unique advantages and limitations.
To assist you further in making an informed decision regarding the ideal kit for your needs, here is a list of key considerations:
- Budget: Determine how much you are willing to invest in your project.
- Availability of spare parts: Ensure that replacement components can be easily obtained if needed.
- Size and weight restrictions: Consider any local regulations or personal constraints when deciding on dimensions.
- Skill requirements: Assess whether specific tools or skills are necessary for assembling certain kits.
By carefully addressing these aspects during the selection process, you increase the likelihood of choosing a suitable RC plane kit that aligns with both your abilities and aspirations.
Next up is understanding the instructions provided with your chosen kit—a vital step toward successfully bringing your dream aircraft to life.
Understanding the Instructions
Having thoroughly researched and carefully selected the ideal kit for your RC plane, it’s now time to delve into the exciting world of assembly. To illustrate the importance of this process, let’s consider a hypothetical scenario where an enthusiast named John purchases a high-performance aerobatic RC plane kit.
John is thrilled about building his own RC plane from scratch. As he opens the box, he notices several components neatly organized and labeled with corresponding numbers. This thoughtful packaging not only enhances convenience but also ensures that all necessary parts are included in the kit. Understanding how crucial organization is throughout the assembly process, John eagerly begins referring to the instruction manual.
To ensure a successful build, it is essential to follow instructions meticulously while employing appropriate techniques. Here are some key tips to keep in mind:
- Take your time: Rushing through the assembly may lead to errors or overlooked steps. Patience is vital when constructing an intricate machine like an RC plane.
- Stay organized: Keeping your workspace tidy and arranging components systematically will prevent confusion and save time during construction.
- Double-check measurements: Precise measurement and alignment play a significant role in achieving optimal performance. Use tools such as calipers or rulers to ensure accuracy.
- Seek guidance if needed: If you encounter any difficulties or uncertainties during assembly, don’t hesitate to consult online forums or seek help from experienced hobbyists who have previously built similar models.
| Tips for Successful Assembly |
|---|
| Take your time |
| Stay organized |
| Double-check measurements |
| Seek guidance if needed |
By following these guidelines, enthusiasts like John can embark on their journey towards assembling their very own RC planes successfully.
With our focus now turned toward organizing the components effectively, we can proceed to explore this integral step further without delay.
Organizing the Components
Section H2: Understanding the Instructions
In the previous section, we discussed the importance of understanding the instructions before starting to assemble your own RC plane. Now, let’s delve deeper into this topic and explore some techniques that can help you comprehend the assembly process more effectively.
Imagine you have just received a brand new RC plane kit in the mail. Excitement fills your mind as you eagerly open it up, only to find a set of complex instructions with numerous steps and diagrams. At first glance, it may seem overwhelming, but by following these guidelines, you will be able to tackle any instruction manual with confidence.
Firstly, start by reading through the entire manual once without attempting any actual assembly. This initial scan will provide you with an overview of what lies ahead and allow you to familiarize yourself with key terms and concepts. Additionally, take note of any specific tools or materials required for each step so that you can ensure everything is readily available.
Once you have grasped the general sequence of steps involved in assembling your RC plane, break down the instructions into smaller sections or individual tasks. By dividing them into manageable chunks, not only will it become less daunting, but it will also enable you to focus on one aspect at a time and prevent confusion or errors.
To further enhance your understanding of the instructions, consider using visual aids such as diagrams or photographs provided in the manual. These visuals can give you a clearer picture of how different components fit together and greatly assist in comprehending intricate details.
Now that we have explored effective methods for deciphering instructional manuals let us move on to organizing all the various components needed for building your RC plane fuselage efficiently.
Assembling the Fuselage
Section H2: Assembling the Fuselage
Once you have organized all the components, it is time to move onto assembling the fuselage of your RC plane. To illustrate the process, let’s consider a hypothetical scenario where we are building a high-performance aerobatic aircraft.
To begin with, ensure that you have all the necessary tools and materials at hand. This will include adhesive tape, epoxy glue, sandpaper, and a sharp hobby knife. Having these items readily available will streamline the assembly process and eliminate unnecessary delays.
-
Prepare the fuselage: Start by carefully examining each individual component of the fuselage. Remove any excess material or molding imperfections using sandpaper or a hobby knife. Ensure that all edges are smooth and fit together seamlessly before proceeding.
-
Apply adhesive: Once the components are prepared, apply adhesive along the mating surfaces as indicated in the instructions provided with your kit. Take care to avoid excessive amounts of adhesive, as this can interfere with proper alignment and add unnecessary weight to your aircraft.
-
Secure the joints: After applying adhesive, firmly press together the mating surfaces to create secure joints. Use clamps or rubber bands if needed to hold everything in place until fully cured. Remember that patience is key during this step – allowing sufficient curing time ensures stronger bonds and overall structural integrity.
-
Check for alignment: Before moving on to installing other components such as wings and tail sections, double-check that your fuselage is properly aligned. Misalignment at this stage can lead to issues later on during flight operation. Utilize a straight edge or measuring tool to verify that everything is lined up accurately.
By following these steps diligently, you can assemble a sturdy and well-aligned fuselage for your RC plane.
| Steps | Tools Required | Time Required | Difficulty Level |
|---|---|---|---|
| Prepare fuselage | Sandpaper, hobby knife | 30 minutes | Easy |
| Apply adhesive | Epoxy glue, brush | 15 minutes | Moderate |
| Secure the joints | Clamps/rubber bands | Varies | Moderate |
With the fuselage assembly complete, you are now ready to move on to installing the wings and tail. This crucial step will bring your RC plane one step closer to taking flight with stability and control.
[Transition into subsequent section: Installing the Wings and Tail] Assembling the fuselage is a critical foundation for any successful RC plane construction project. Now that we have ensured its proper alignment and structural integrity, let’s proceed to attach the wings and tail sections.
Installing the Wings and Tail
With the fuselage now assembled, it is time to move on to the next crucial step in building your own RC plane. In this section, we will focus on installing the wings and tail, which are essential components that contribute to the stability and maneuverability of the aircraft.
Installing the Wings
To begin with, carefully align the wing spar with its corresponding slot in the fuselage. Ensure that it fits snugly and securely. Once aligned, use a high-quality adhesive or epoxy to bond the spar to the fuselage. Allow sufficient drying time as per the manufacturer’s instructions before proceeding further.
Next, attach each wing panel to the designated areas on either side of the fuselage. Make sure that they are properly aligned and parallel to each other. Secure them using screws or bolts provided in your kit. Additionally, reinforce these connections by applying a small amount of adhesive around each attachment point for added strength.
Mounting the Tail
Similar to attaching the wings, mounting the tail requires precision alignment and secure fastening. Begin by placing the horizontal stabilizer onto its designated position at rear of the fuselage. Use adhesive or epoxy along with screws or bolts (as recommended by your kit) to firmly attach it.
Once secured, affix both vertical stabilizers perpendicular to their respective positions on top of the horizontal stabilizer. Again, follow manufacturer guidelines regarding adhesives and fasteners for proper installation.
Now that you have successfully installed both wings and tail sections, your RC plane is taking shape! These key steps form a solid foundation for achieving optimal flight performance while ensuring structural integrity throughout operation.
- Sense of accomplishment upon completing major assembly stages.
- Excitement builds as airplane begins resembling an actual flying machine.
- Eagerness increases as final touches bring model closer to completion.
- Anticipation grows for test flights ahead.
Emotional Table:
| Emotion | Description | Example |
|---|---|---|
| Satisfaction | Feeling of contentment and pride in one’s work. | Seeing the wings attached perfectly aligned. |
| Excitement | A state of high enthusiasm and eagerness. | Realizing the model is starting to take shape. |
| Anticipation | The act of looking forward to something eagerly. | Preparing for the upcoming test flights. |
| Achievement | Sense of fulfillment upon completing a milestone. | Successfully mounting the tail section. |
With both wings and tail securely installed, it’s time to move on to testing and fine-tuning your RC plane for optimum performance without compromising safety measures.
Testing and Fine-Tuning
Section H2: “Testing and Fine-Tuning”
After successfully installing the wings and tail onto your RC plane, it is now time to move on to the crucial stage of testing and fine-tuning. This step ensures that your aircraft performs optimally and provides an enjoyable flying experience. To illustrate this process, let’s consider a hypothetical scenario where you have just completed assembling a high-performance racing drone.
Firstly, begin by conducting a thorough pre-flight inspection. Check for any loose connections or damaged components that may compromise the stability and control of the aircraft. Inspect the motors, propellers, receiver, and all other essential parts meticulously. Pay special attention to the wiring as well, ensuring that there are no exposed wires or shorts that could lead to malfunctions during flight.
Once you have confirmed everything is in proper order, proceed with calibration procedures. These calibrations include setting up the flight controller correctly, configuring transmitter settings such as channel endpoints and reverse switches, and adjusting motor timing if necessary. Calibration is vital to ensure precise control inputs translate effectively into desired movements of the RC plane.
To further enhance your understanding of testing and fine-tuning techniques, here are some key considerations:
- Conduct range tests before each flight to verify signal strength between the transmitter and receiver.
- Perform hover tests at low altitudes to assess stability and responsiveness.
- Adjust control surface deflections according to personal preferences or specific flight characteristics required.
- Test various power setups (battery types/sizes) to find an optimal balance between performance and flight duration.
In addition to these guidelines, refer to the following table summarizing common issues encountered during testing along with possible solutions:
| Issue | Possible Solution |
|---|---|
| Unstable Flight | Increase wing incidence angle |
| Poor Roll Response | Decrease aileron throw or increase roll rate |
| Tail Wagging | Reduce gyro gain settings |
| Motor Overheating | Increase propeller size or reduce throttle percentage |
By diligently conducting tests, making necessary adjustments, and incorporating these troubleshooting techniques, you can fine-tune your RC plane to achieve peak performance. Remember that the process of testing and fine-tuning is iterative – continue experimenting with different settings until you reach an optimal configuration for your specific aircraft.
Through this section, we have explored the importance of testing and fine-tuning in ensuring a successful flight experience. By following these steps and continually refining your setup, you will be well on your way to mastering the art of building and flying your own RC planes.